Product comparison is the most trending thing going on in the environment. Everyone wants to compare the products before actually buying it.
WordPress also offers flexibility to create your own product comparison website apart from creating a blog. In my previous article, we have discussed creating an eCommerce website with the help of woocommerce WordPress plugin.
Before we proceed ahead, till now you must have bought the domain and hosting for your website. If you have still not done that you must go through the tutorial for selecting the domain name for your website and how to select the best WordPress hosting providers.
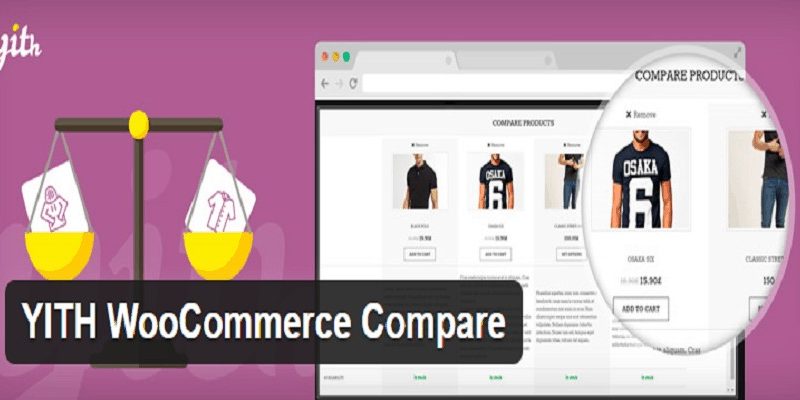
There are many plugins in the market supporting product comparison WordPress website. However, bloggersutra recommends YITH Woocommerce compare plugin.
Why YITH Woocommerce Compare Plugin
YITH WooCommerce Compare is the tool for your shop that you can’t miss. It is essential for the users to compare the products, among a wide range, in order to come to a decision about the best choice for their needs in an easy and fast way.
A table including all the products which the user is interested in allows having a clear and detailed view of the product features. None of us completes a purchase without comparing the available options, this is taken for granted.
YITH comes both free and premium version. Both the versions have separate capabilities. Bloggersutra recommends using premium version. You can download the premium version from here.
Getting Started: Installation & Activation
Download the free version of the plugin from WordPress.org clicking on the “Download” button.
You can also install the plugin from your website admin panel, go to Plugins > Add New and then type YITH Woocommerce compare in the search bar. Click install button, once the plugin is installed then click the activate button.
To download the premium version go to members area.
Activation, Renew and Deactivation of Plugin
Activation
In order to work correctly, the plugin must be installed following the previous steps.
However, if you have purchased the premium version of the plugin and you want to benefit from automatic updates of the development team, or access to the support platform to receive help by our staff, you need to activate the plugin.
Go to your member are on yithemes.com and click on the “License” tab to get your license key for the activation of the plugin.
Now access your WordPress platform, go to the “YITH Plugins” option and add your license key in the License Activation tab.
Note: the License tab will be available only if you have downloaded and installed the premium version of the plugin.
If the activation process worked fine, you will see a screen like the following one.
Renew License
The license can be updated in “License” section in your reserved area of YIThemes, or in YITH Plugins -> License Activation on your site.
License updating occurs by the new purchase of the product related to the plugin. You only need to click “Renew” button: you will be redirected to yithemes.com and the product will be automatically added to cart.
Once updated, the new license expiration date will be set to the same day and month of the next year. The only exception concerns those updatings done before the expiration date: in this case validity will be extended to one year from the expiration date.
After purchasing, you don’t have to do anything else. If in “YITH Plugins -> License Activation” expiration date isn’t updated we suggest you click “Update license information” button.
Deactivate license
You can deactivate and reactivate the license on a different site at any moment. Just click the “Deactivate” button you find in “YITH Plugins -> License Activation” and insert the license key in the new site. The activation process is the same as the one previously explained.
YITH is recommended to start your own product comparison website. YITH also offers many themes and plugins for WordPress. Buy premium version of YITH plugins now
